Connect Stripe to Power BI with Coupler.io to simplify reporting
Get and prepare data effortlessly
Streamline financial data analysis by exporting it to the BI tool on a schedule with Coupler.io. Import data from Stripe to Power BI with no coding and powerful transformation options to make it analysis-ready.
Automate reporting tasks
Boost your reporting effectiveness with Coupler.io’s capabilities. Schedule data exports from Stripe to Power BI and join data from other financial tools. Automatically populate your reports with data and get up-to-date insights.
Stand out as a data-driven expert
See how the Stripe to Power BI integration with Coupler.io improves the quality of the overall financial reporting. Become a data-driven expert and deliver digestible results to your stakeholders. Reduce time on routine activities and focus on business-critical tasks.
How to integrate Stripe to Power BI (detailed guide)
First of all, make sure you have a Coupler.io account or create a new one (no credit card is required). Create an importer and enjoy a 3-step no-code setup to import data from Stripe to Power BI.
Step 1: Collect Stripe data
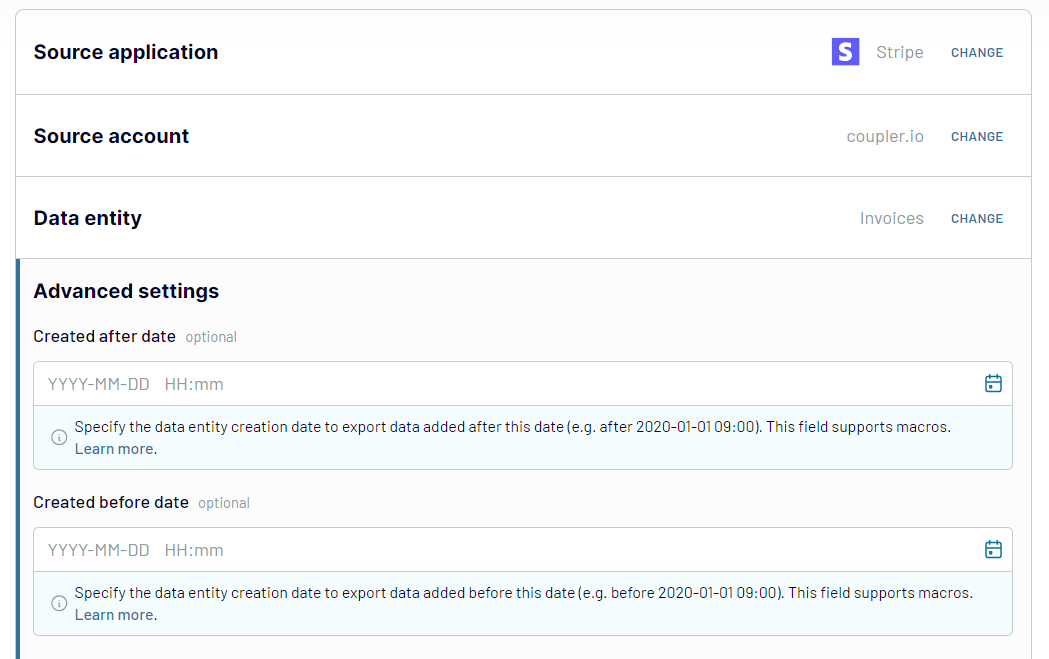
The first thing to do is authorize Coupler.io to access your Stipe data. Select Stripe as a source, click Connect, and follow the on-screen instructions. Afterward, pick up customer data, transactions, or payment details under the Data entity. Optionally, set the time period for your reporting and configure other parameters in the source settings.
Step 2: Organize & Transform
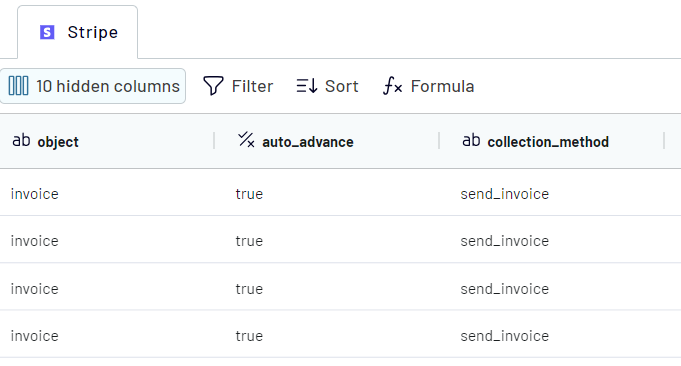
An important stage of the Stripe to Power BI integration is data preparation. Go to the Transformation tab and take a look at your data. See how Coupler.io can help you cleanse and organize your data to make it analysis-ready.
- Filter data by picking up the needed criteria to extract only the necessary data from the entire dataset.
- Sort data to make it more visually appealing and organized.
- Blend Stripe data with data from other apps and sources.
- Work with columns by rearranging, removing, and renaming them to brush a dataset.
- Design custom metrics by adding new columns and specifying mathematical formulas.
Step 3: Load and schedule refresh
The final step of the integration setup is to connect to your Power BI.
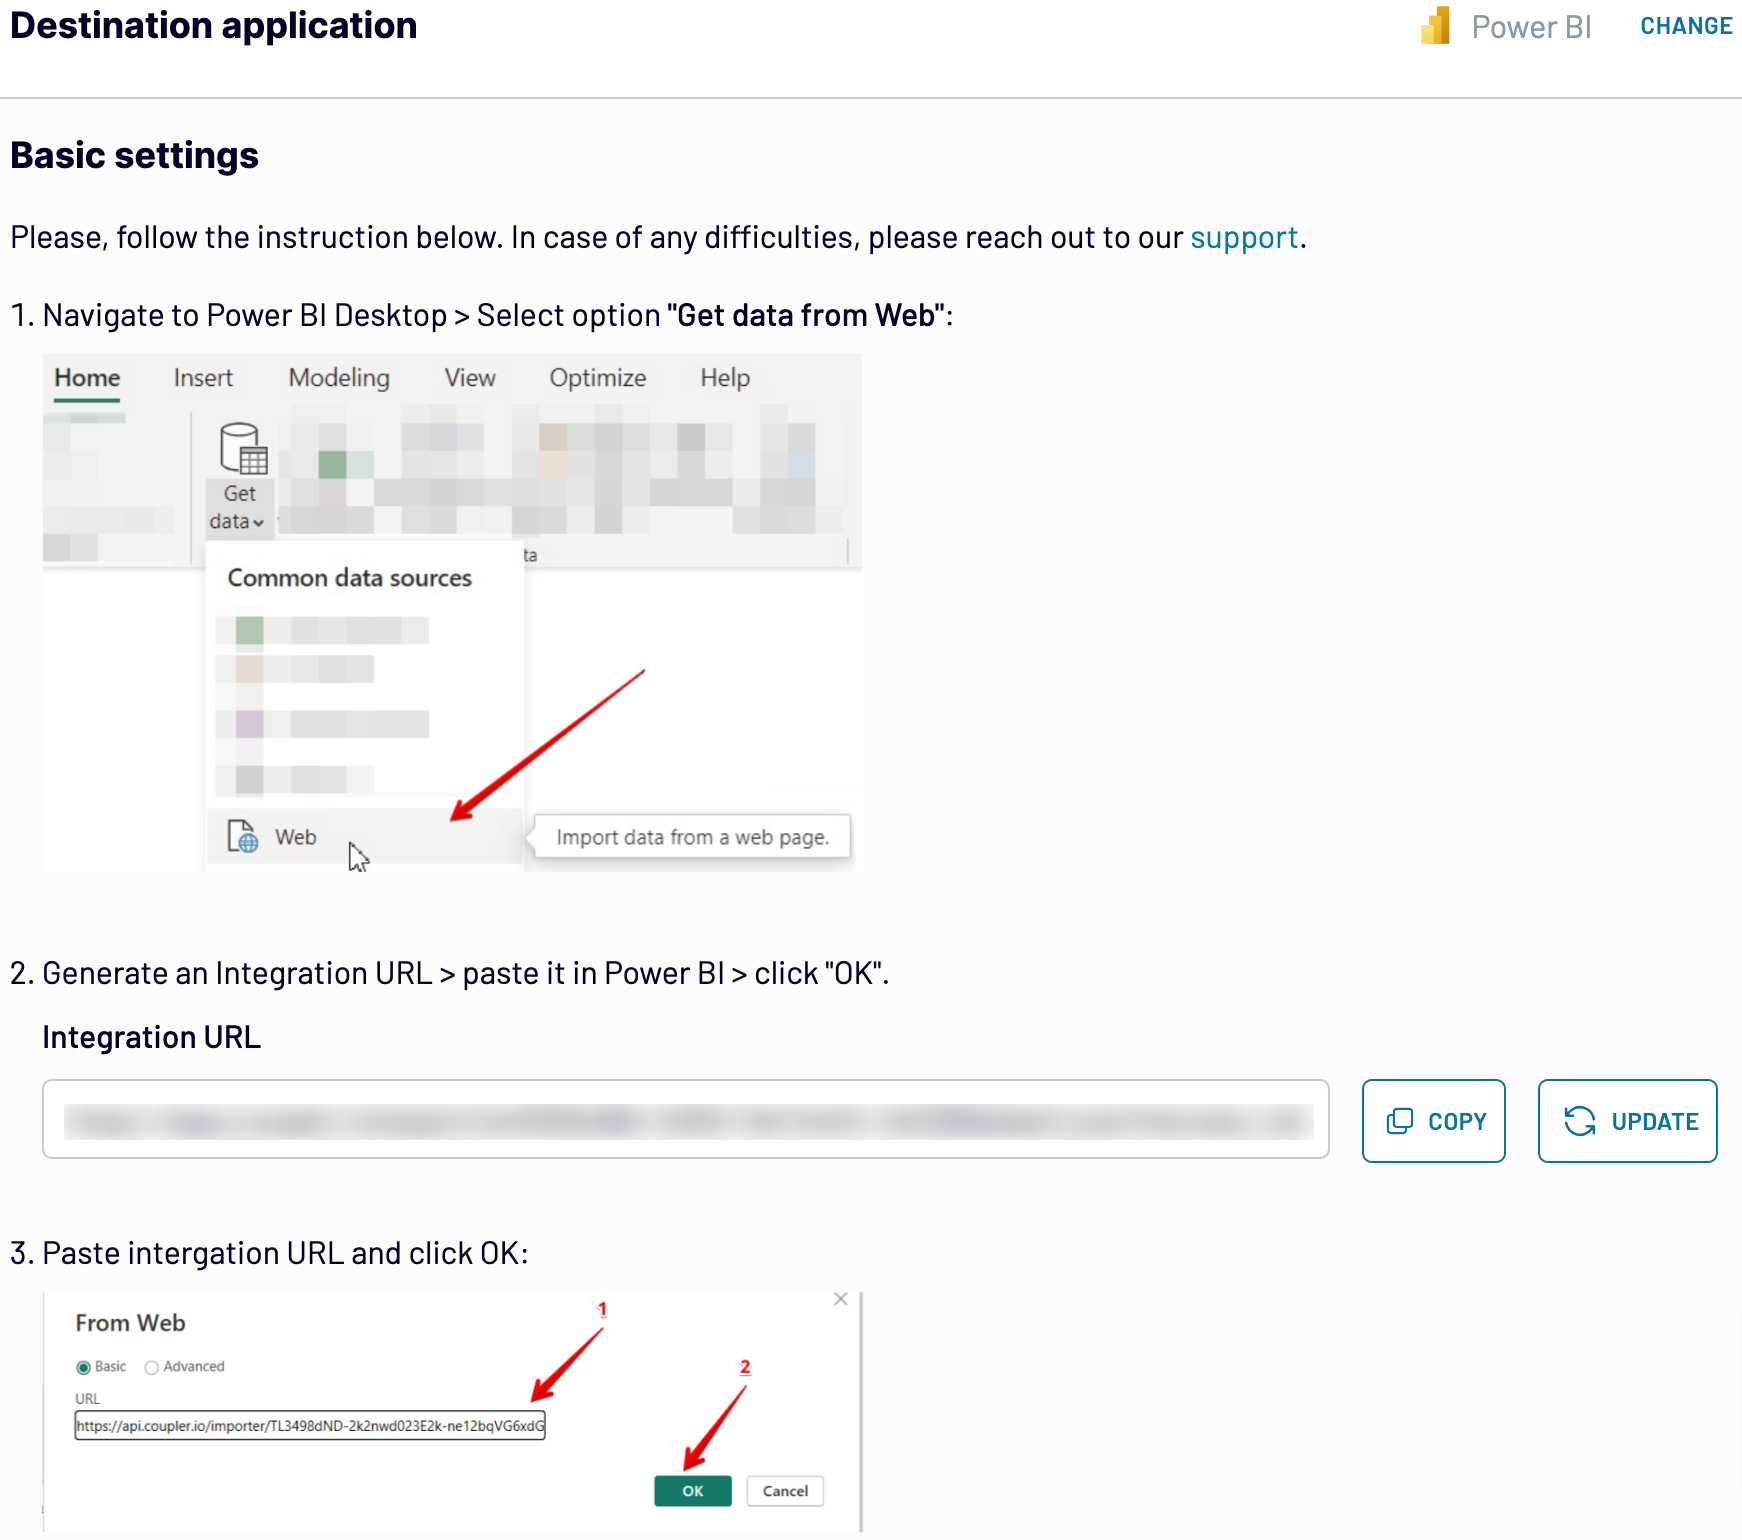
In the Destination tab, generate the integration link and copy it.
Then open your Power BI Desktop and navigate to the upper menu Get Data -> Web.
Paste the integration link in the field that appears and click OK.
Back in Coupler.io, proceed to the next step and select the scheduling parameters for regular data updates. This is an optional parameter, but it ensures regular data supply for your Power BI dashboards. So, if automated data exports interest you, set up the scheduling parameters. Otherwise, proceed directly to the checkout and save the importer.
Export Stripe to Power BI on a schedule

Thanks to this functionality, your report will keep up with the ever-updating source data.
Export data from Stripe to alternative destinations
Quick start with Finance dashboard templates
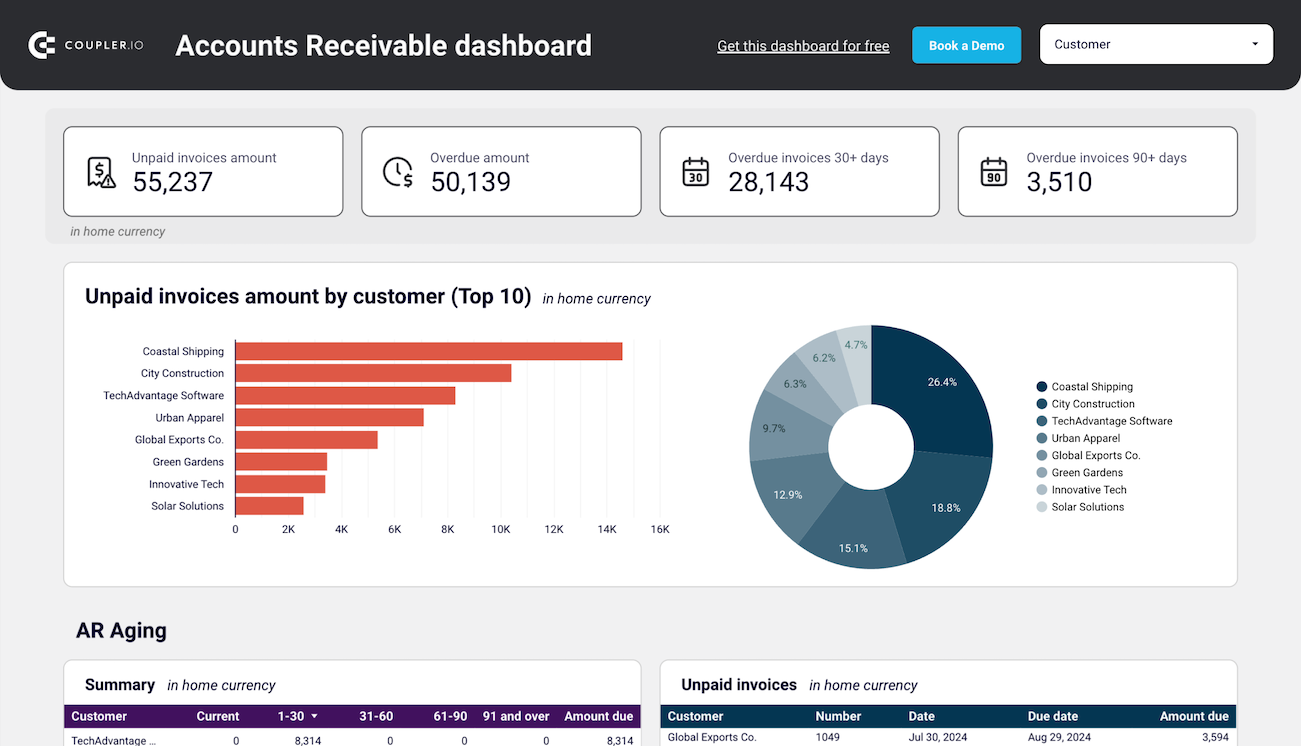
See which customers accumulate unpaid and overdue invoices, analyze AR aging, and track changes over time.


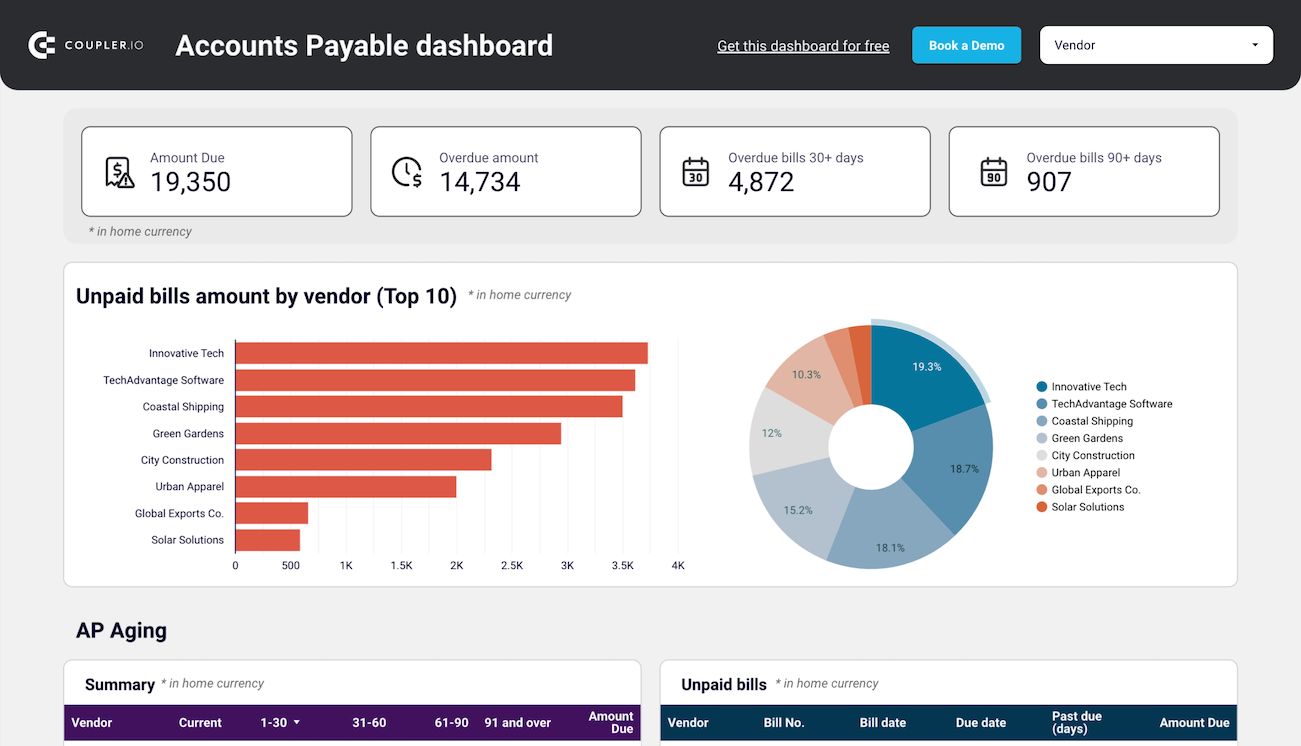
Track outstanding, overdue, and paid bills to optimize payment schedules, manage vendor relationships, and ensure smooth cash flow.


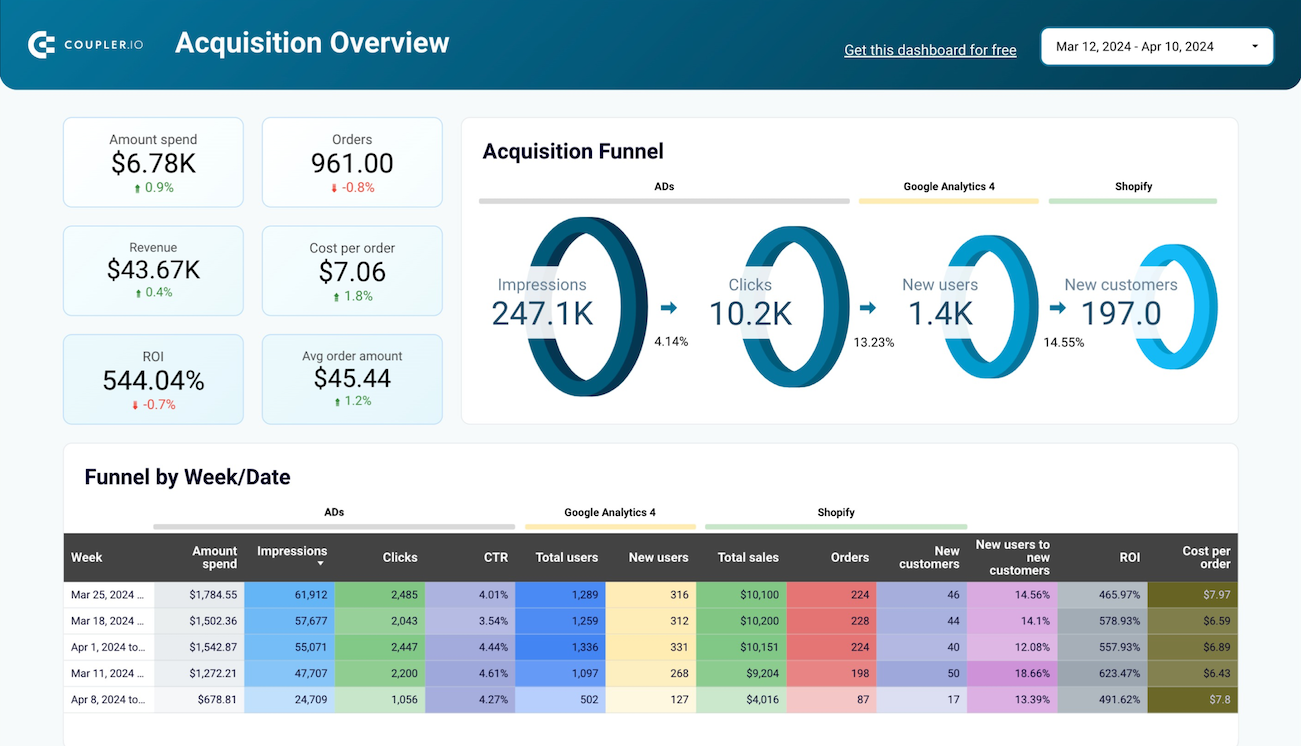
Analyze the performance of the traffic to your Shopify store using data from advertising platforms and Google Analytics 4, all consolidated on a single dashboard.


Export Stripe to Power BI automatically with just a few clicks.
Connect similar Finance & Accounting apps and get data in minutes
What to export from Stripe to Power BI


How do you connect Stripe to Power BI?
Pricing plans
- Monthly
- Annual (save 25%)
Keep your data safe
Coupler.io safeguards your shared information and data transfers from breaches, leaks, and unauthorized disclosures.


